For many CPAP users, getting a CPAP compliance report is essential—whether it’s for doctor visits, insurance requirements, or simply tracking your therapy progress. If you’re a Luna 2 CPAP user, great news: it’s easier than ever to get your compliance report using the React Health App and your machine’s built-in QR code. No more SD cards or complicated data transfers!
📲 How to Get Your Luna 2 Compliance Report (Step-by-Step)
1. Download and Set Up the React Health App
If you haven’t already, download the React Health Plus app to your smartphone:
Point your phone camera at the Icode QR Plus displayed on your Luna 2.
Your data uploads automatically to the React Health system.
Once uploaded, our CPAPmyway team can access your data and generate a compliance report for you.
🚀 Why This Method is a Game-Changer
The new QR code-based process eliminates previous connectivity issues and offers a seamless experience for uploading and sharing your CPAP data. It also makes it easier for your doctor to remotely monitor your therapy.
Ready for Better Sleep? Discover the Luna 2 Auto CPAP!
Looking for a reliable, quiet, and affordable CPAP machine? The Luna 2 Auto CPAP is the perfect blend of performance and value.
Whether you’re new to CPAP or upgrading, the Luna 2 offers:
Our team at CPAPmyway is ready to assist you every step of the way.
Sleep Better with CPAPmyway
At CPAPmyway, we’re committed to simplifying your CPAP journey—from therapy to compliance. Let us help you sleep better, breathe easier, and stay compliant.
Content is carefully evaluated to provide factual, current, and unbiased information.
Updated Regularly
We regularly review and revise our CPAP repair information to reflect current costs, service availability, shipping policies, and manufacturer timelines.
Is your CPAP machine failing you? Don’t let a broken device disrupt your vital sleep therapy. At CPAPmyway, we understand how crucial your CPAP is to your health and peace of mind. That’s why we offer great troubleshooting tutorials as well as fast, reliable repair estimates.
Whether it’s a cracked humidifier chamber, a broken motor, or a worn-out power supply, repair costs can vary—and it’s not always easy to know what to expect. In this guide, we break down typical CPAP repair costs, common issues, and tips for extending the life of your machine. We also have a quick form that you can fill out and send in your CPAP to us for a repair estimate, even if you didn’t get your CPAP from CPAPmyway.
⚠️ Repair Request Form ⚠️
⚠️ Repair Request Form
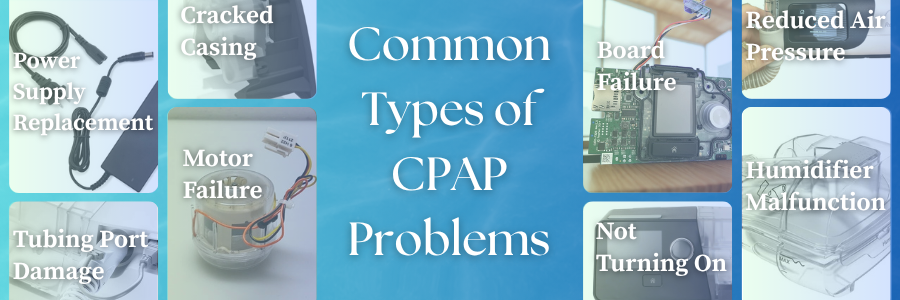
Common CPAP Problems That May Need Repair
Here are some frequent issues CPAP users encounter:
Power or display issues (blinking lights, no power)
Motor or blower failure (machine sounds different, stops blowing air)
Board Failure (Technical issues like CPAP shutting off randomly)
Humidifier malfunction (leaks, heating issues, dryness or water issues)
Cracked casing or parts (from drops or wear)
Tubing or mask port damage
Average CPAP Repair Costs by Problem
Problem
Estimated Repair Cost (USD)
Power Supply or Cord Replacement
$20–$90
Blower Motor Replacement
$250–$350
Humidifier Replacement
$50–$100
Control Panel/Electronics
$100–$200
General Diagnostic Fee
$38–$75
Full Overhaul (Older Machines)
$400–$500
Minor Fixes (Buttons, seals, clips)
$25–$60
Note: Prices can vary by brand (ResMed, Philips Respironics, etc.), availability of parts, and whether your warranty is still active.
How Our CPAP Repair Process Works
We know how important your CPAP machine is to your health and daily routine, so we’ve created a straightforward process to get you the repair help you need—fast, clear, and with no surprises.
Here’s how it works:
1. Submit the Repair Request Form
Start by filling out our quick [CPAP Repair Form] below with details about your machine and the issue you’re experiencing. This gives us the information we need to begin the process.
2. Receive Your Return Authorization
Once we receive your form, we’ll email you a Return Authorization. This gives you the go-ahead to ship your CPAP device to us at CPAPmyway.
3. We Clean, Inspect, and Diagnose
When your machine arrives, our team will:
Clean and sanitize it
Run diagnostic tests
Identify the issue
If the problem is minor, we’ll let you know the cost to fix it, get your approval, repair it in-house and return it to you quickly (typically within a week). You’ll only pay the $19 return shipping fee plus the repair costs.
4. For Major Repairs or Warranty Cases
If the issue is more serious:
We’ll contact you with a full explanation of the problem and your options
If needed, we can send it to the manufacturer for a repair estimate. There is a $19 shipping and handling fee for this.
If the machine is under warranty, the manufacturer may repair it at no charge
Return shipping still applies at $19 to have the unit sent back to you even if you decline the repair.
Manufacturer repairs can take 3–6 weeks
5. No Surprises—Only Pay If You Approve the Estimate
Before any paid repair is made, we’ll give you a clear estimate for approval. If you choose not to proceed, we’ll return the device to you for the standard return fee.
6. Need a Replacement Instead? We’ve Got You Covered
If repair isn’t the right choice, we can help you choose a new or used CPAP machine that fits your needs and budget. We can even assist with updating your prescription at no extra cost.
This process ensures you stay in control—no unexpected costs, just clear communication and expert service every step of the way.
Should You Repair or Replace Your CPAP?
If your machine is 5+ years old or nearing the end of its warranty (generally 2 years warranty on most CPAPs), replacement might be more cost-effective—especially if multiple components are failing. However, for newer devices or minor issues, repairs can save you hundreds of dollars.
When Repair Makes Sense:
Machine is under 2 years old
Issue is isolated (e.g., faulty humidifier)
Repair cost is <50% of replacement cost
Tips to Lower CPAP Repair Costs
Check your warranty. Some repairs may be free or discounted. Generally, CPAPs are warrantied for 2 years
Use an authorized repair center. This ensures proper diagnostics and parts. CPAPmyway is an authorized distributor for all major brands.
Clean and maintain regularly. Prevents buildup and wear.
Use surge protectors. Protects your power supply and electronics.
Ask for a diagnostic report. Avoid paying for unnecessary parts. Here a CPAPmyway we can pull reports remotely on many models for a $20 fee.
What About Insurance and Repairs?
Some insurance providers cover CPAP repairs or offer partial reimbursement. To be honest it is rare, but worth asking about. Be sure to:
Contact your provider before authorizing a repair
Get a detailed invoice from the repair service
Keep documentation of your original prescription and equipment model
DIY Fixes vs. Professional Repairs
Safe DIY fixes include:
Replacing hoses, masks, and filters
Replacing water chambers
Avoid DIY for:
Electrical or motor issues
Opening the machine casing (can void warranty)
How to Find a CPAP Repair Center
Look for:
Authorized repair services (ask your device manufacturer). CPAPmyway can facilitate repairs with all major manufacturers.
Online CPAP forums or groups (often have trusted recommendations)
Local DME (Durable Medical Equipment) providers
As a DME provider, we provide CPAP repair services locally & online.
Conclusion: Be Informed, Be Proactive
CPAP repair doesn’t have to be a mystery. By understanding common issues and typical costs, you can make informed decisions—whether it’s a simple fix or time to upgrade. Your sleep (and health) is worth the effort. We hope to help you in any way that we can. Whether that is by helping you troubleshoot an issue, get a CPAP repaired or by helping you replace an old broken CPAP.
Frequently Asked Questions About CPAP Repair
Here are short answers to some of the most common questions we hear about how to get a CPAP prescription and related topics:
Common issues include power failure, blower motor problems, control board malfunctions, humidifier leaks or heating failure, cracked casing, and tubing/mask port damage. These issues can cause your machine to stop turning on, blow weak air, or behave erratically.
Repair costs range from $20 to $500 depending on the problem. Minor repairs may run $20–$90, while major components like a blower motor or control board may cost $250–$375. A full overhaul on older machines can exceed $400. A $19 return shipping fee applies to all completed repairs or returned units.
If your machine is under 5 years old and the repair cost is less than 50% of the cost of a new unit, repair is usually a smart choice. If it’s older, out of warranty, or has multiple failing parts, a replacement may offer better value long term.
After submitting your Repair Request Form and receiving Return Authorization, we’ll inspect, clean, and diagnose your machine. You’ll get a detailed estimate, and no repairs are made without your approval. Minor repairs are usually done in-house within about a week.
No repairs will be performed unless you approve the estimate. If you decline, we’ll return your machine unaltered and only charge a $19 return shipping fee.
In-house repairs typically take about a week after approval. Manufacturer repairs may take 3–6 weeks. These timeframes are estimates only and may vary based on diagnostics, part availability, and shipping.
Not yet—but we’re working on it. We plan to offer loaner or rental CPAP machines in the near future. Until then, we can recommend trusted rental options to help you stay on therapy.
You can safely replace filters, hoses, and water chambers. However, for internal components like motors or circuit boards, professional repair is suggested. DIY attempts may worsen the issue or void your warranty.
Only include the CPAP unit and its power supply. Do not send your mask, tubing, water chamber, or carrying case—these items are not needed and will not be returned. Package your device carefully, and we recommend using insured and trackable shipping.
We service all major brands including ResMed (AirSense 10 & 11), Philips Respironics (DreamStation 1 & 2), and Fisher & Paykel. We can handle both in-house diagnostics and manufacturer-authorized repair coordination.
Most failures come from normal wear after years of nightly use. Power surges, dust buildup, and overheating are also common causes. For ResMed models, you’ll often see a “Motor life exceeded” alert after 21,900 hours of use.
Many of our customers safely use ozone-based cleaners like Sleep8 or SoClean. Just follow the instructions carefully, and avoid prolonged exposure. Some manufacturers exclude ozone-related damage from warranty coverage, so check your policy if your machine is still under warranty.
In many cases, yes. We offer remote diagnostics for certain CPAP models for a small fee. This is a great way to understand potential issues before shipping your machine in.
Use distilled water, clean your filters regularly, avoid drops or moisture, and always use a surge protector. These small steps can help extend your CPAP’s lifespan and prevent common failures.
If your machine is no longer supported or the necessary parts aren’t available, we’ll help you explore options for a new or used replacement machine. We can also assist with updating your prescription if needed.
Absolutely. If your repair isn’t cost-effective, we offer both new and used CPAP replacements and will help match you with the best fit for your budget. We also assist with prescription updates at no extra cost.
What to Explore Next
Is your CPAP machine failing you? Don’t let a broken device disrupt your vital sleep therapy. At CPAPmyway, we understand how crucial your CPAP is to your health and peace of mind. That’s why we offer great troubleshooting tutorials as well as fast, reliable repair estimates. Whether it’s a cracked humidifier chamber, a broken motor, or a worn-out power supply, repair costs can vary—and it’s not always easy to know what to expect. In this guide, we break down typical CPAP repair costs, common issues, and tips for extending the life of your machine. We also have a quick form that you can fill out and send in your CPAP to us for a repair estimate, even if you didn’t get your CPAP from CPAPmyway.
Repair Request Form
Common CPAP Problems That May Need Repair
Here are some frequent issues CPAP users encounter:
Power or display issues (blinking lights, no power)
Motor or blower failure (machine sounds different, stops blowing air)
Board Failure (Technical issues like CPAP shutting off randomly)
Humidifier malfunction (leaks, heating issues, dryness or water issues)
Cracked casing or parts (from drops or wear)
Tubing or mask port damage
Average CPAP Repair Costs by Problem
Problem
Estimated Repair Cost (USD)
Power Supply or Cord Replacement
$20–$90
Blower Motor Replacement
$250–$350
Humidifier Replacement
$50–$100
Control Panel/Electronics
$100–$200
General Diagnostic Fee
$38–$75
Full Overhaul (Older Machines)
$400–$500
Minor Fixes (Buttons, seals, clips)
$25–$60
Note: Prices can vary by brand (ResMed, Philips Respironics, etc.), availability of parts, and whether your warranty is still active.
How Our CPAP Repair Process Works
We know how important your CPAP machine is to your health and daily routine, so we’ve created a straightforward process to get you the repair help you need—fast, clear, and with no surprises.
Here’s how it works:
1. Submit the Repair Request Form
Start by filling out our quick [CPAP Repair Form] below with details about your machine and the issue you’re experiencing. This gives us the information we need to begin the process.
2. Receive Your Return Authorization
Once we receive your form, we’ll email you a Return Authorization. This gives you the go-ahead to ship your CPAP device to us at CPAPmyway.
3. We Clean, Inspect, and Diagnose
When your machine arrives, our team will:
Clean and sanitize it
Run diagnostic tests
Identify the issue
If the problem is minor, we’ll let you know the cost to fix it, get your approval, repair it in-house and return it to you quickly (typically within a week). You’ll only pay the $19 return shipping fee plus the repair costs.
4. For Major Repairs or Warranty Cases
If the issue is more serious:
We’ll contact you with a full explanation of the problem and your options
If needed, we can send it to the manufacturer for a repair estimate. There is a $19 shipping and handling fee for this.
If the machine is under warranty, the manufacturer may repair it at no charge
Return shipping still applies at $19 to have the unit sent back to you even if you decline the repair.
Manufacturer repairs can take 3–6 weeks
5. No Surprises—Only Pay If You Approve the Estimate
Before any paid repair is made, we’ll give you a clear estimate for approval. If you choose not to proceed, we’ll return the device to you for the standard return fee.
6. Need a Replacement Instead? We’ve Got You Covered
If repair isn’t the right choice, we can help you choose a new or used CPAP machine that fits your needs and budget. We can even assist with updating your prescription at no extra cost.
This process ensures you stay in control—no unexpected costs, just clear communication and expert service every step of the way.
Should You Repair or Replace Your CPAP?
If your machine is 5+ years old or nearing the end of its warranty (generally 2 years warranty on most CPAPs), replacement might be more cost-effective—especially if multiple components are failing. However, for newer devices or minor issues, repairs can save you hundreds of dollars.
When Repair Makes Sense:
Machine is under 2 years old
Issue is isolated (e.g., faulty humidifier)
Repair cost is <50% of replacement cost
Tips to Lower CPAP Repair Costs
Check your warranty. Some repairs may be free or discounted. Generally, CPAPs are warrantied for 2 years
Use an authorized repair center. This ensures proper diagnostics and parts. CPAPmyway is an authorized distributor for all major brands.
Clean and maintain regularly. Prevents buildup and wear.
Use surge protectors. Protects your power supply and electronics.
Ask for a diagnostic report. Avoid paying for unnecessary parts. Here a CPAPmyway we can pull reports remotely on many models for a $20 fee.
What About Insurance and Repairs?
Some insurance providers cover CPAP repairs or offer partial reimbursement. To be honest it is rare, but worth asking about. Be sure to:
Contact your provider before authorizing a repair
Get a detailed invoice from the repair service
Keep documentation of your original prescription and equipment model
DIY Fixes vs. Professional Repairs
Safe DIY fixes include:
Replacing hoses, masks, and filters
Replacing water chambers
Avoid DIY for:
Electrical or motor issues
Opening the machine casing (can void warranty)
How to Find a CPAP Repair Center
Look for:
Authorized repair services (ask your device manufacturer). CPAPmyway can facilitate repairs with all major manufacturers.
Online CPAP forums or groups (often have trusted recommendations)
Local DME (Durable Medical Equipment) providers
Conclusion: Be Informed, Be Proactive
CPAP repair doesn’t have to be a mystery. By understanding common issues and typical costs, you can make informed decisions—whether it’s a simple fix or time to upgrade. Your sleep (and health) is worth the effort. We hope to help you in any way that we can. Whether that is by helping you troubleshoot an issue, get a CPAP repaired or by helping you replace an old broken CPAP.
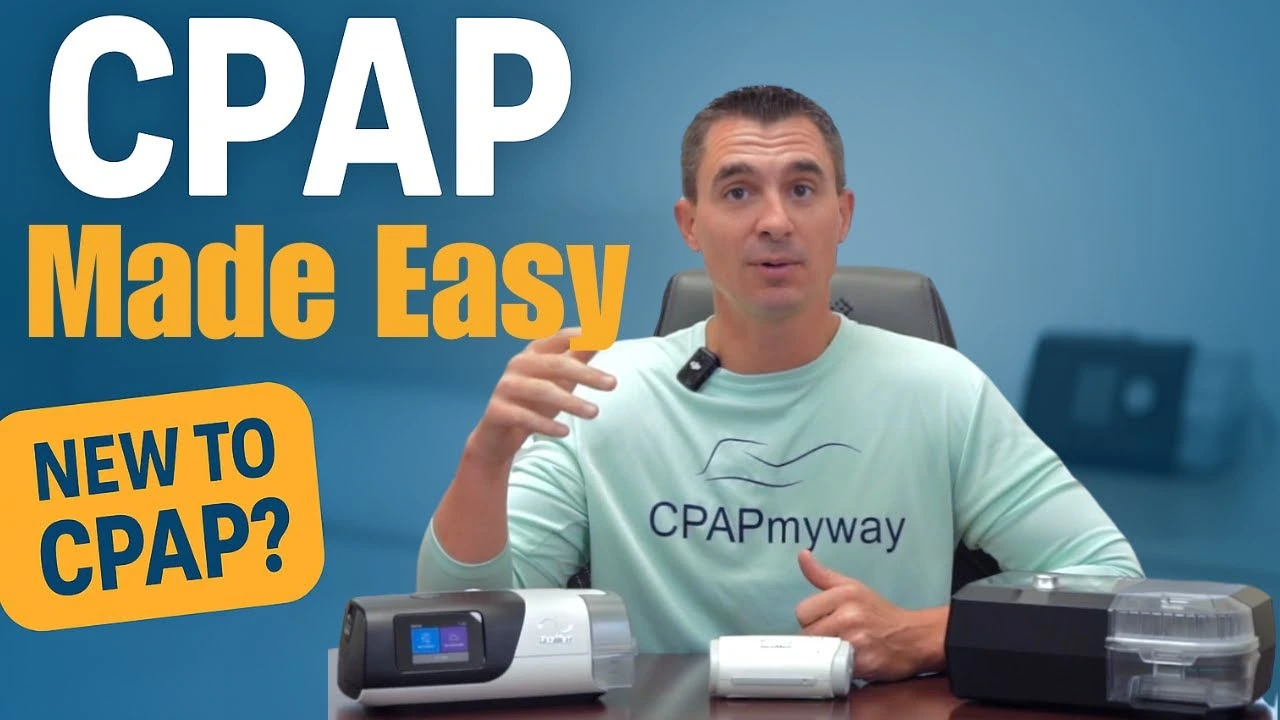
Starting CPAP therapy for sleep apnea can feel intimidating at first—but you’re not alone. At CPAPmyway.com, we help thousands of people every year get comfortable with their machines and finally experience restful, uninterrupted sleep. If you’re just beginning your CPAP journey, here’s how to make the adjustment smoother and more successful.
Expect a Bit of a Learning Curve
You’re not doing it wrong if the first few nights feel off. It’s completely normal for new CPAP users to need some time to settle in. Early on, you might deal with things like:
A mask that feels awkward or uncomfortable
A dry mouth or now
Some pressure or bloating in your stomach (easily addressed by changing air pressure)
Air leaks or shifting during the night
General discomfort falling asleep with something on your face
That adjustment period is completely normal, but there’s a lot you can do to make it easier. From choosing the right gear to building the right habits, small changes can add up quickly. Let’s walk through some simple, proven steps that help new users feel more comfortable and confident with CPAP therapy.
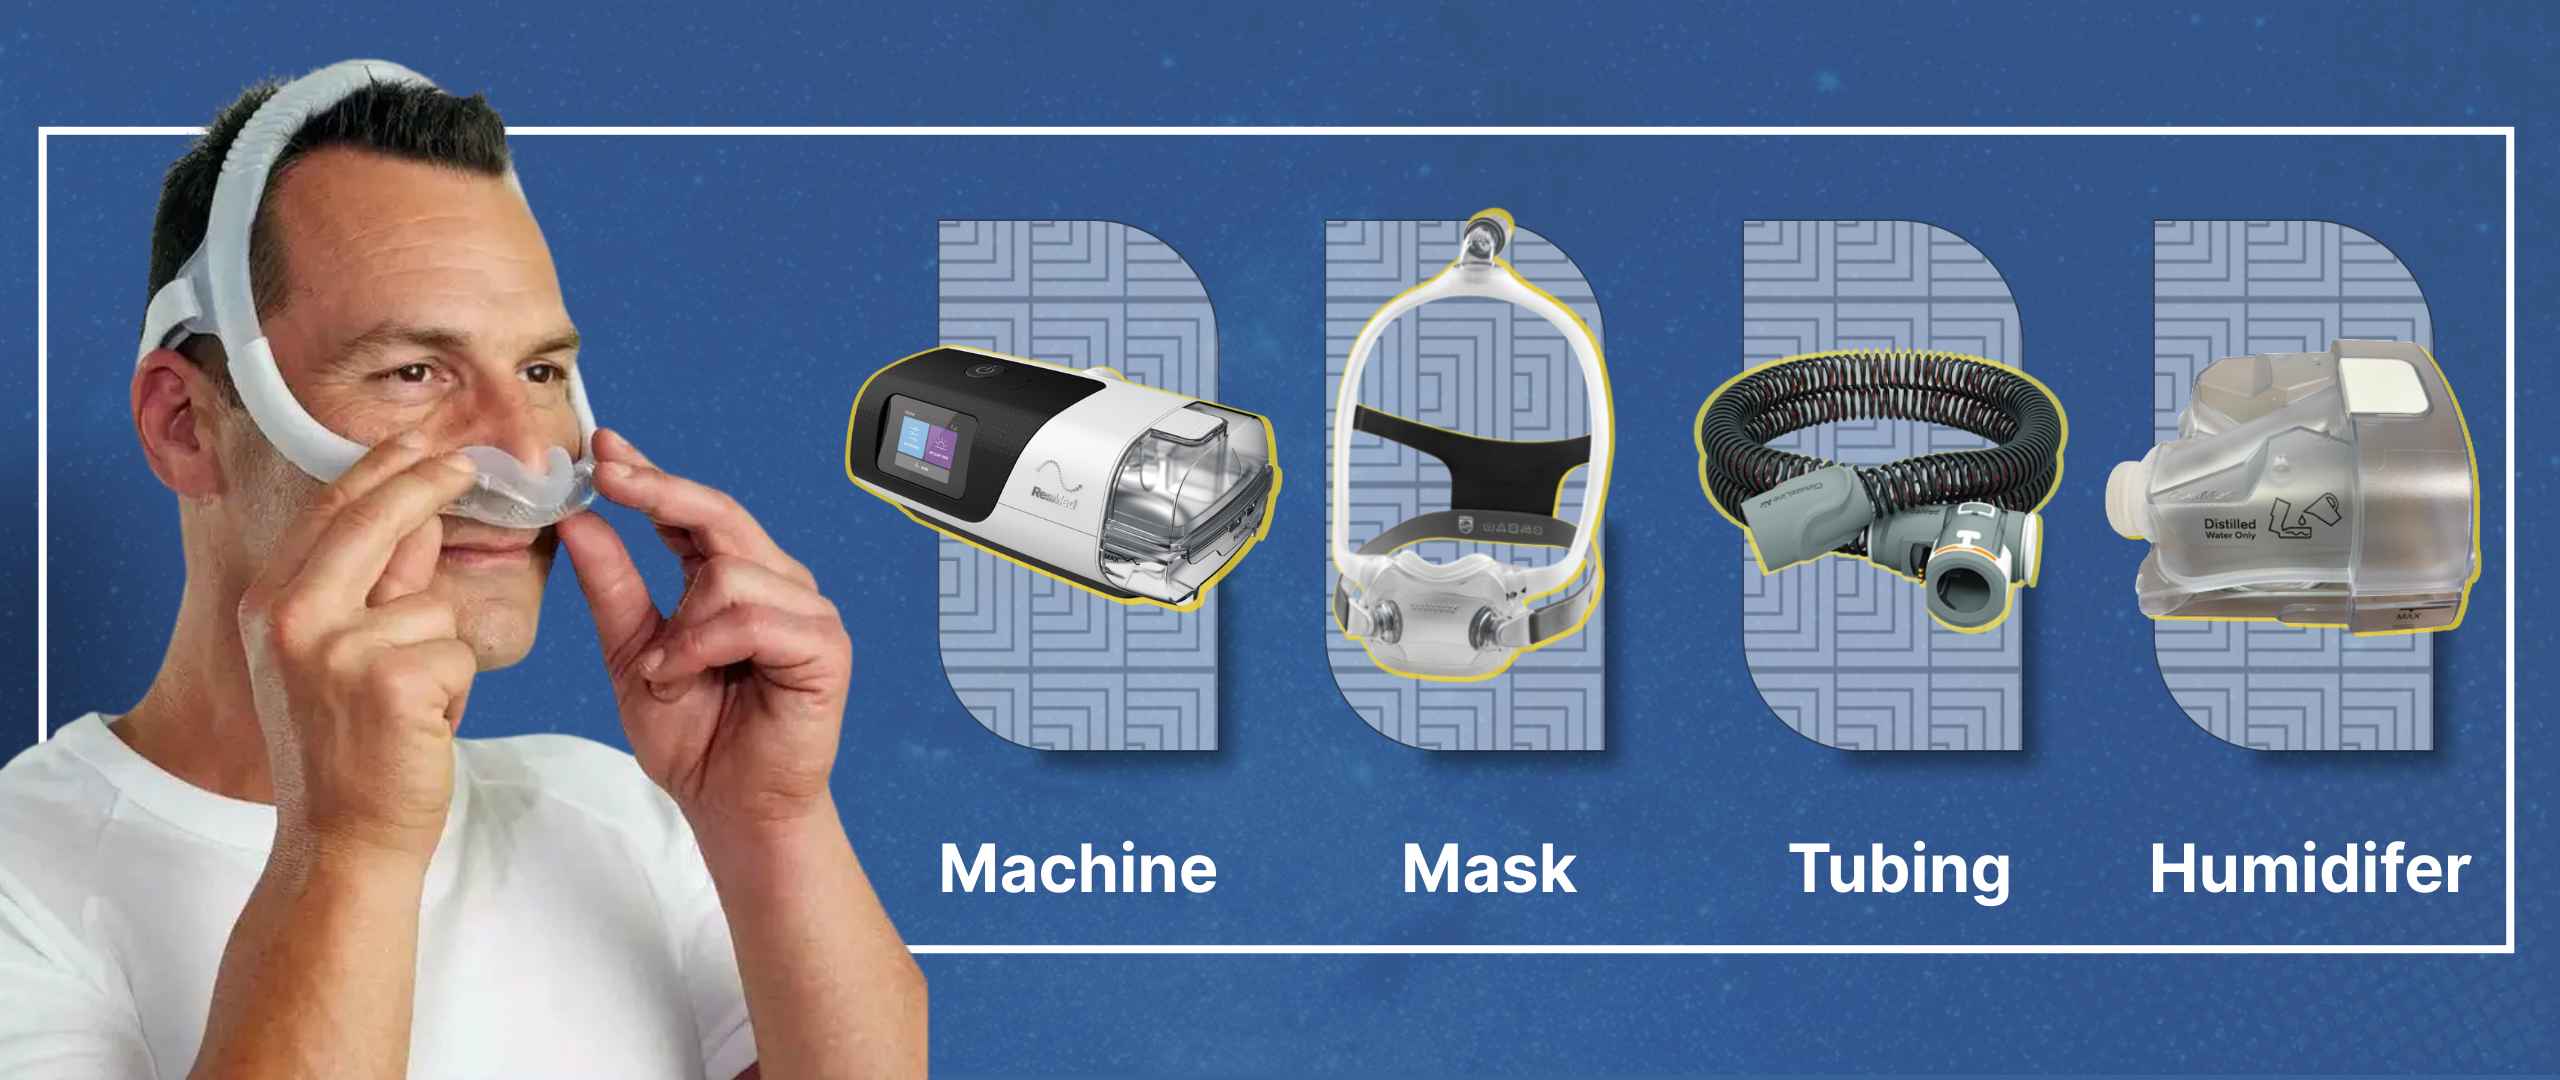
1. Get the Right CPAP Equipment for You
Not all CPAP gear is one-size-fits-all. Having the right setup is the foundation of comfort and long-term success.
Choose the best mask style for your sleep habits: There are three main types—nasal masks, nasal pillow masks, and full-face masks. Side sleepers often prefer nasal pillows because they’re lightweight, while mouth breathers may need a full-face mask for better seal and airflow.
Look for cpap machines with user-friendly features: Features like ramp time (which gradually increases pressure as you fall asleep), humidifiers (to reduce dryness), and auto-adjusting pressure settings can make a huge difference in how natural the experience feels.
Make sure your pressure settings are personalized: CPAP machines are usually set by your doctor or sleep specialist based on your needs. An improper setting can make it harder to breathe or stay asleep, so be sure it’s been adjusted for you.
Signs your might need a different mask:
You wake up with red marks, skin irritation, or headaches
The mask leaks air into your eyes or makes noise
You feel claustrophobic or anxious once it’s on
You keep removing it during the night without realizing it
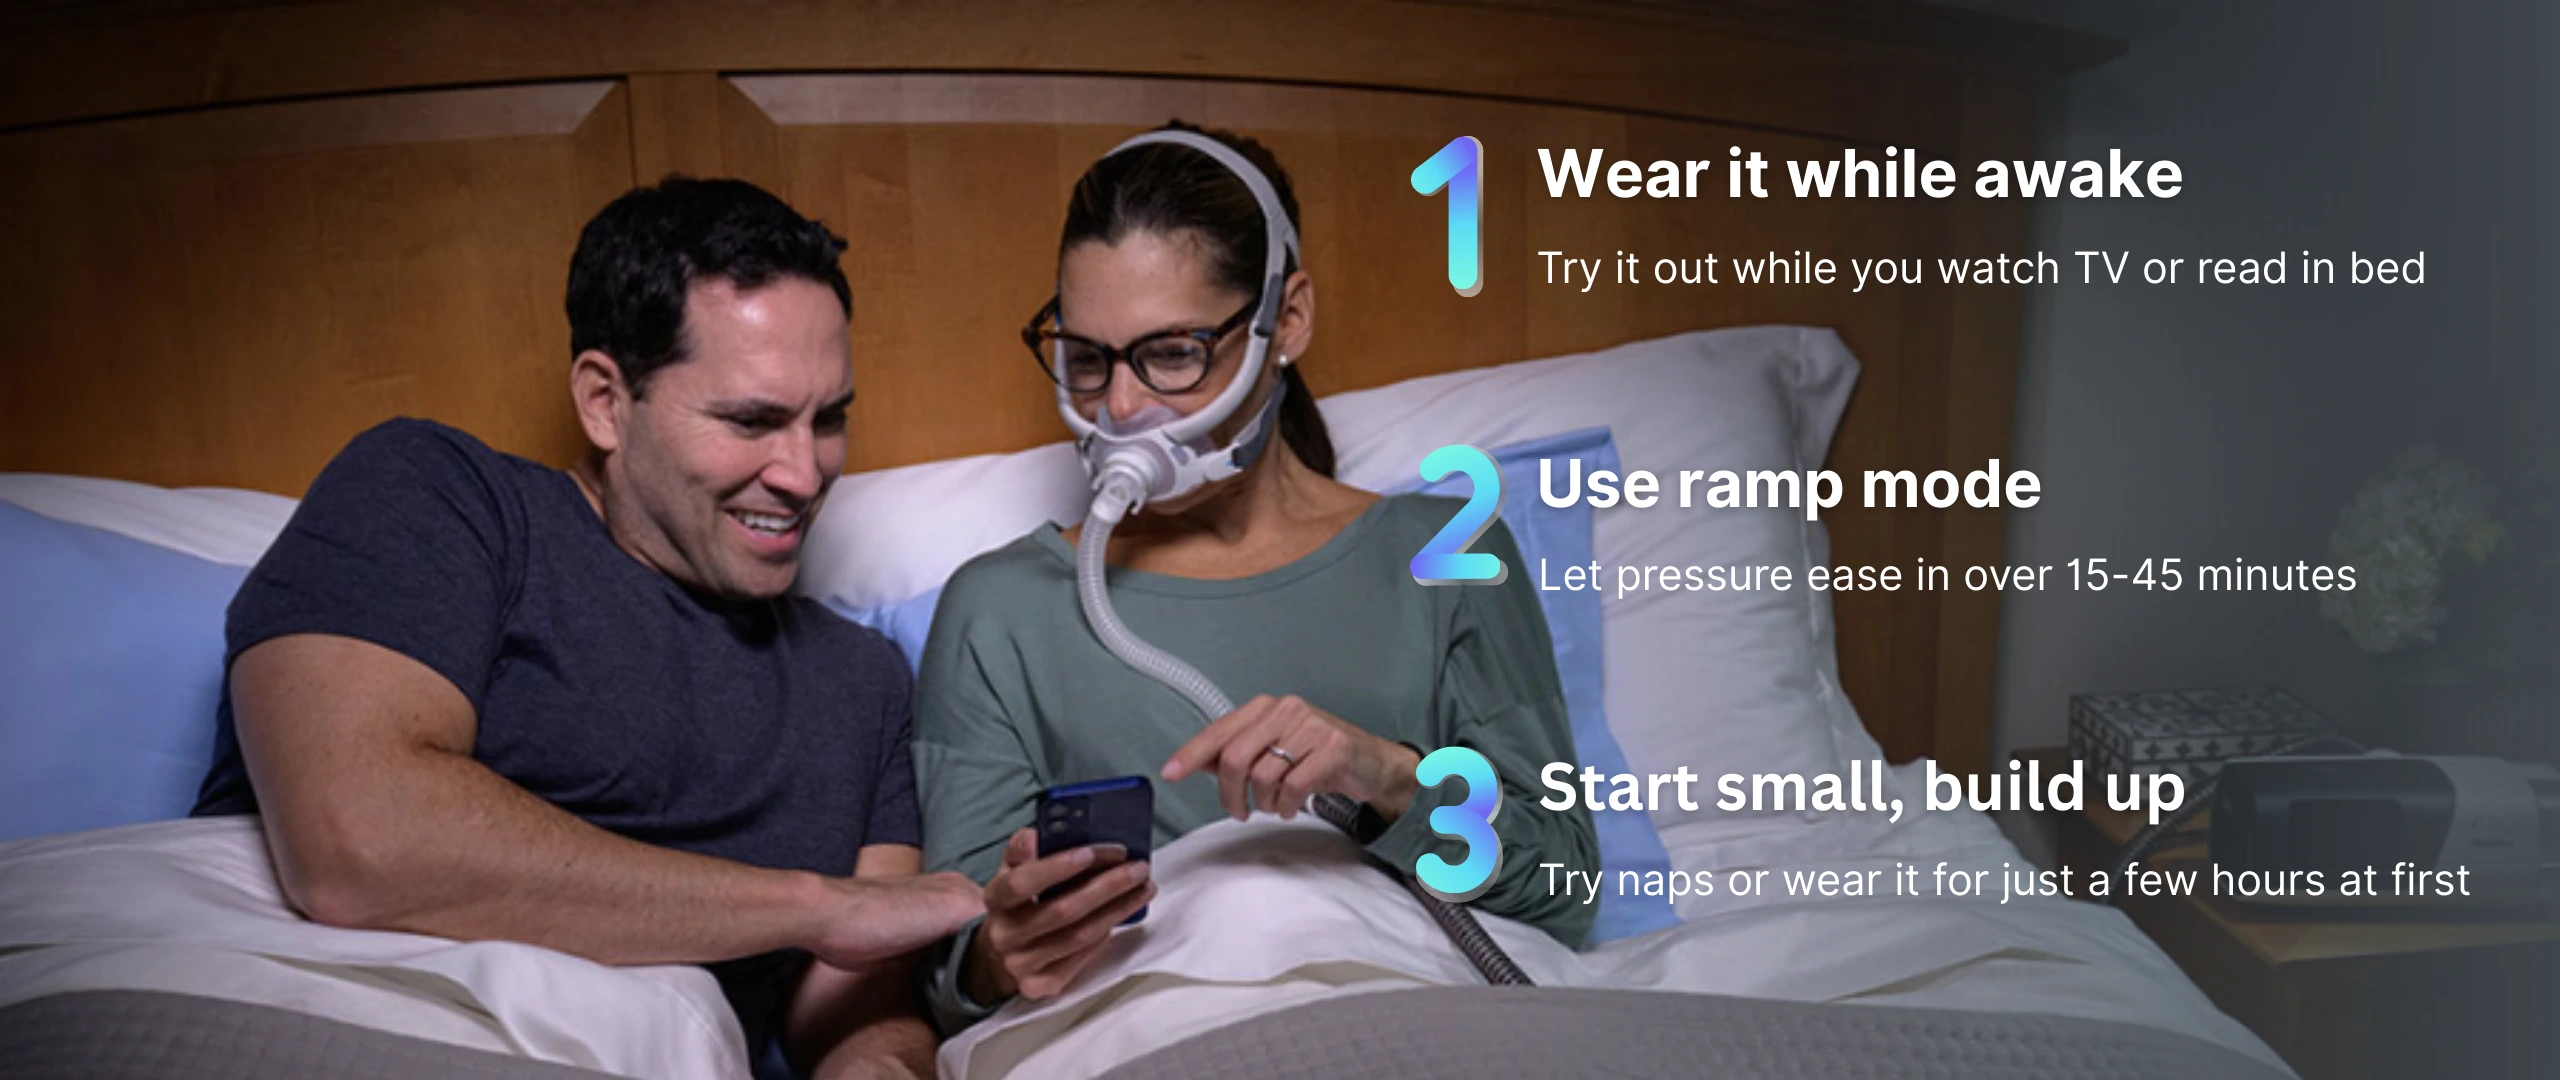
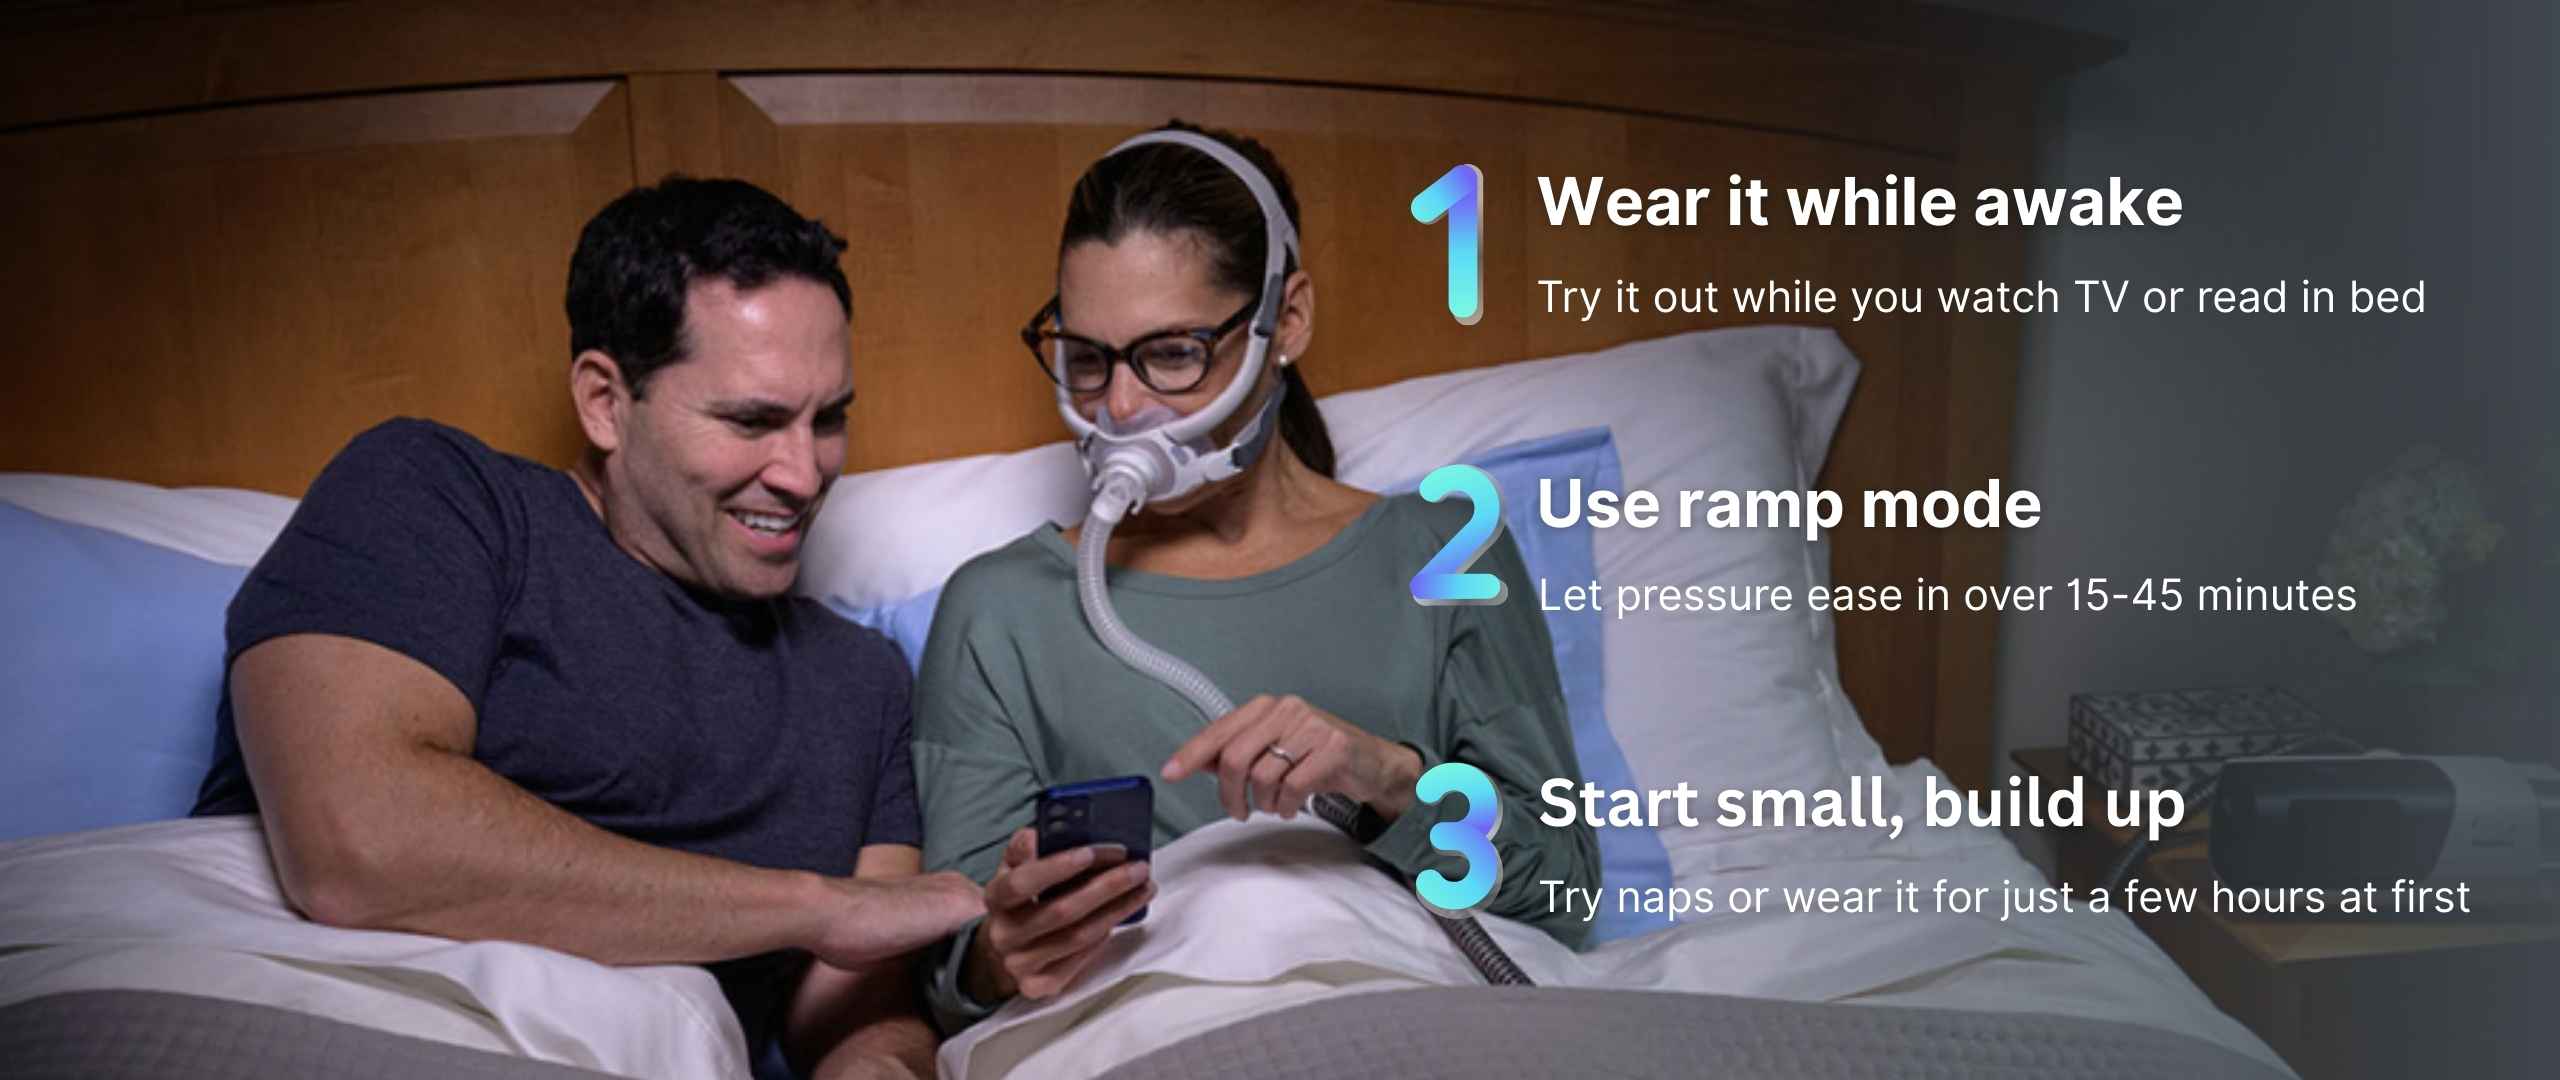
2. Ease Into Therapy Gradually
If wearing a mask and breathing pressurized air feels odd at first, that’s totally normal. Take it step by step.
Wear the mask while awake: Spend 20–30 minutes wearing your mask in a comfortable setting—like watching TV or reading in bed. This helps desensitize your face and brain to the new sensation without the pressure of trying to fall asleep.
Use the ramp feature on your machine: The ramp starts the air pressure low and gradually increases it over a set period (usually 15–45 minutes), so you’re not hit with full pressure right away.
Start with naps or shorter sleep sessions: Try using your CPAP during an afternoon nap or the first few hours of your night. Even partial use early on builds tolerance and makes it easier to use all night later.
3. Create a Comfortable Sleep Environment
Comfort is king when adjusting to CPAP. A few simple changes can help make your setup feel more natural.
Use a humidifier to avoid dryness: Pressurized air can dry out your nasal passages and throat. Integrated or heated humidifiers add moisture to the air, making it easier to breathe and preventing irritation.
Adjust your mask for the right fit: A common mistake is tightening the mask too much. This can cause pressure marks or leaks. Instead, aim for a secure seal that feels gentle. Try adjusting while lying down—your face shape changes slightly when you’re on your back.
Consider mask liners or pads: These soft fabric barriers go between your mask and skin to reduce irritation, improve comfort, and even help reduce leaks for some users.
4. Be Patient and Consistent
It may take a few weeks to fully adjust: Many users feel frustrated in the first week or two. Don’t let that discourage you. The benefits grow the longer you stick with it.
Use your CPAP every night—even for part of the night: If you can’t manage the whole night at first, aim to use it as long as you can. The consistency helps you build the habit.
Track your progress using your machine’s app or display: Most machines track usage data, like hours used and mask seal quality. Monitoring your progress helps identify areas to improve and gives you a sense of accomplishment.
5. Ask for Support When You Need It
You don’t have to figure it all out on your own. Reaching out early can save you weeks of trial and error.
If your mask is leaking or uncomfortable: Try different mask types or sizes. Our team can help you troubleshoot and suggest more comfortable options based on your face shape and sleep style.
If you feel like you’re not getting enough air: Your pressure settings might need adjustment. It’s important not to change these on your own unless advised—reach out to your doctor or our support team.
If you’re experiencing dry mouth, stuffy nose, or trouble falling asleep: There are accessories and troubleshooting solutions for all of these—like chin straps, nasal sprays, or heated tubing. The key is communicating your discomforts early.
6. Celebrate Your Wins
Every night you use your CPAP is a step toward better health. Don’t forget to recognize the progress you’re making.
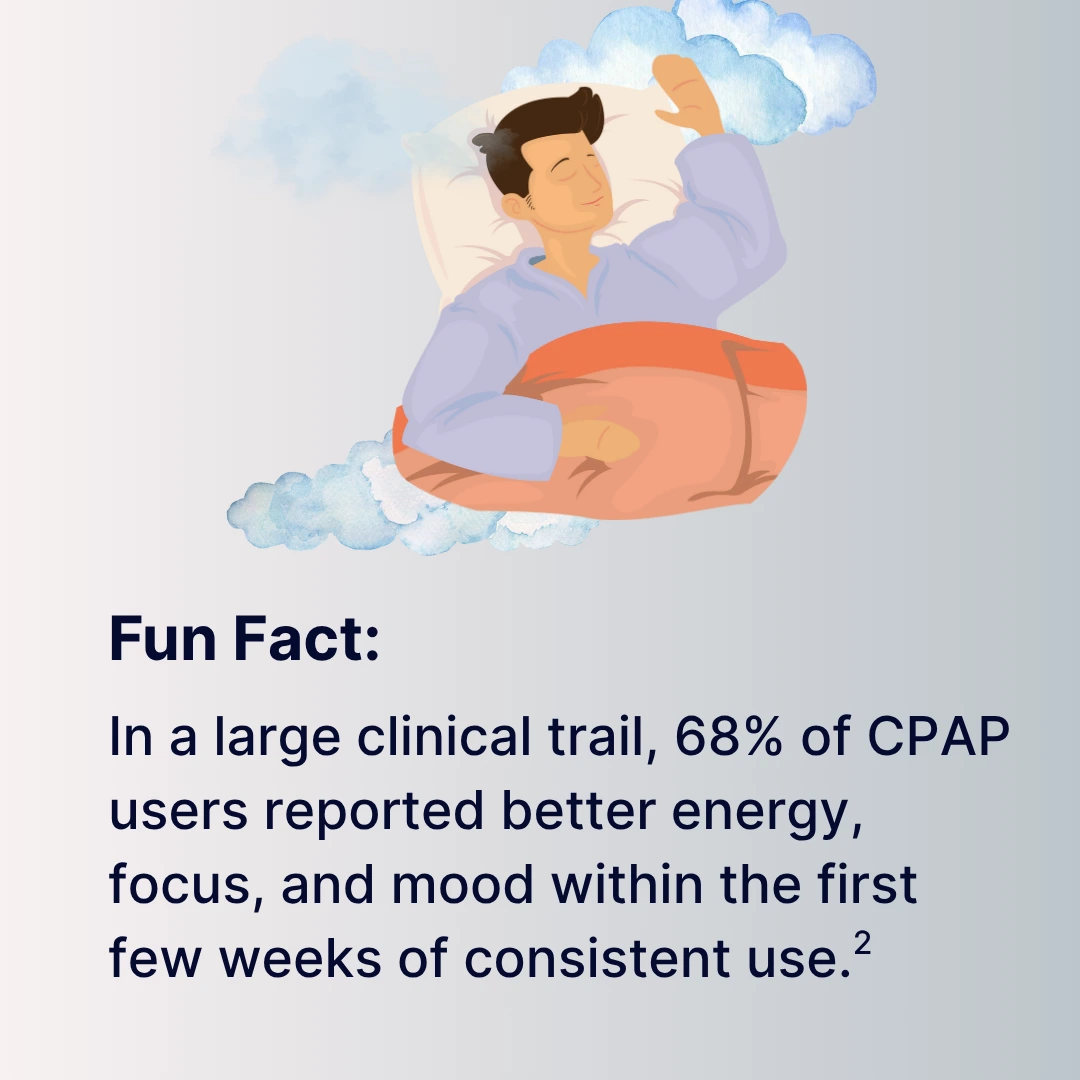
You’ll likely notice more energy and mental clarity: Quality sleep improves memory, mood, and daily focus.
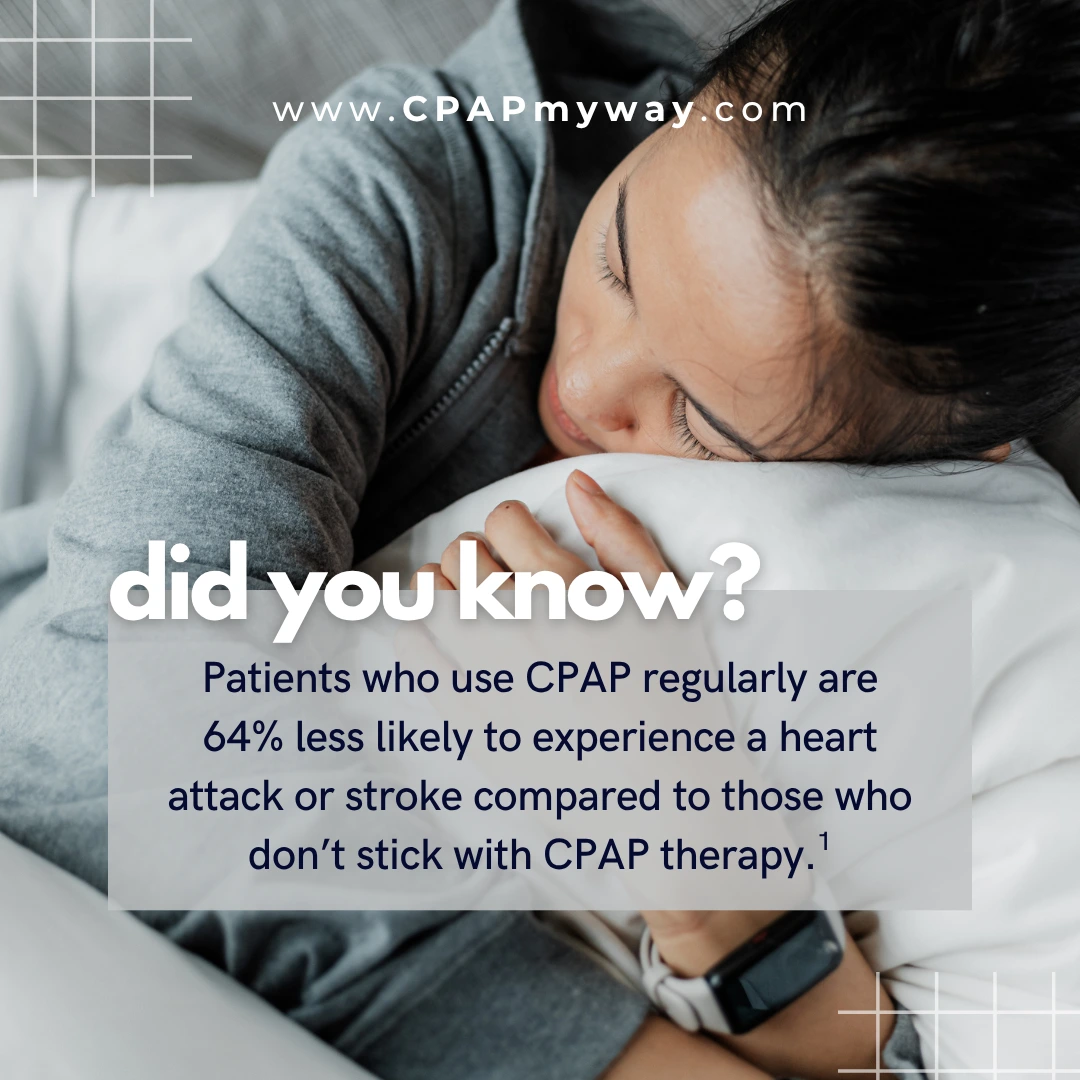
Better sleep helps regulate blood pressure and heart health: CPAP therapy reduces the risks associated with untreated sleep apnea, including cardiovascular issues and fatigue-related accidents.
Small wins add up—track how you’re feeling over time: Keep a journal or log. Many people start noticing changes in their energy, headaches, or snoring in just a few weeks.
Troubleshooting Common Issues
Even with the right setup, it’s normal to run into a few hiccups early on. The good news is that most of them have simple fixes.
Here are some of hte most common issues new users face:
Dry mouth or nose Quality sleep improves memory, mood, and daily focus.
Air leaks Make sure your mask is the right size and adjusted properly. Replace worn-out cushions or try a different mask style if the problem keeps happening.
Feeling bloated or gassy This could be from swallowing air (a common issue known as aerophagia). Use the ramp setting to start at a lower pressure and build up slowly.
Water in the hose If you’re seeing or hearing water inside the hose, that’s called rainout. You can reduce it by keeping your hose elevated or switching to a heated tube.
Final Thoughts: CPAP Therapy Gets Easier and We’re Here to Help
Adjusting to CPAP therapy isn’t always easy at first, but it’s absolutely worth it. With the right equipment, mindset, and support, you’ll be on your way to deeper sleep and better health.
At CPAPmyway.com, we’re here to guide you every step of the way—from choosing your first machine to fine-tuning your setup for ultimate comfort.
Common Questions
What if I rip the mask off in my sleep? That happens more than you’d think. Just put it back on if you wake up and keep trying. If it’s a regular thing, try wearing the mask while you’re awake to build tolerance—or consider a different mask style.
Can I take a night off? Technically yes, but you’ll likely feel it the next day. Using your machine every night gives your body the consistency it needs to recover.
How do I clean it?
Frequently Asked Questions About Getting Used to CPAP Therapy
That’s common for new users. Your body may not be used to the mask yet. Try wearing it while you’re awake for 15 to 30 minutes each evening. This helps reduce the “foreign object” sensation. If it keeps happening, your mask might be uncomfortable or not the right fit. You may want to try a different mask style.
You can, but it might affect how you feel the next day. CPAP therapy works best when used consistently. Even using it for part of the night is better than not using it at all.
Keeping your equipment clean helps prevent bacteria buildup and keeps everything working properly.
Here’s what to do:
Wipe your mask down daily using a soft cloth or CPAP wipe
Wash the tubing and mask parts weekly using warm soapy water
Replace disposable filters every 2 to 4 weeks
Swap out mask cushions every 1 to 3 months
We also carry CPAP cleaning devices that make this process much easier.
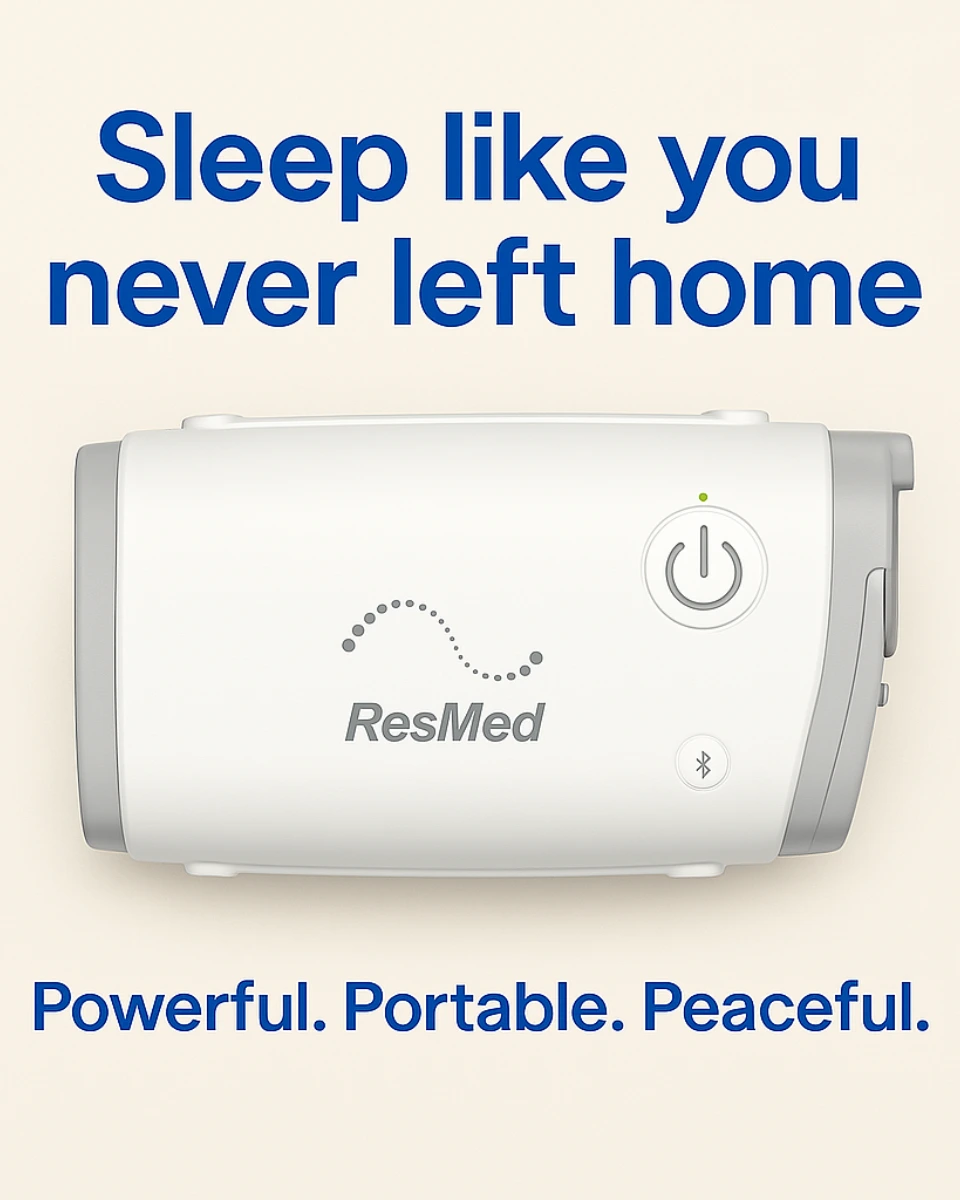
Yes, CPAP machines are travel-friendly. You can bring them on airplanes, and they do not count against your carry-on limit. Many people keep a small travel case packed with their device, mask, and power cord. There are also smaller machines specifically designed for travel if you’re on the go often.
This often means your humidifier setting needs to be adjusted. If you’re a mouth breather using a nasal mask, a chin strap may help. In some cases, switching to a full face mask is the better option.
Ramp starts your therapy at a lower pressure and gradually increases it over a set time. If full pressure feels too strong when you’re trying to fall asleep, ramp can make a big difference. It’s especially useful in the first few weeks.
Most people begin adjusting within one to two weeks. For others, it may take a month or more. The key is to be consistent. The more nights you use it, the faster your body will accept it as part of your sleep routine.
It could be a pressure setting issue, or your mask may be too tight and restricting airflow.
Air leaks usually mean your mask isn’t sealing properly. Make sure you’re using the right size and type. Over-tightening can make things worse. Try adjusting it while lying down in your usual sleeping position. If leaks continue, it might be time to try a different cushion or mask altogether.
CPAP: Delivers a constant, fixed pressure throughout the night
APAP: Automatically adjusts the pressure depending on how you breathe
BiPAP: Uses a higher pressure for inhaling and a lower pressure for exhaling
With proper care, most CPAP machines last 5–7 years.
Yes, but it may affect mask fit. Side sleepers often do well with nasal pillow or nasal masks, which are smaller and easier to keep sealed. Stomach sleeping is more difficult with CPAP, but it’s possible with the right mask and a specially designed CPAP pillow.
Definitely. Using your CPAP during naps helps reinforce the habit and gives your body more consistent therapy. It also helps you get more comfortable with the mask and airflow.
Yes, a valid prescription is required to purchase a CPAP machine. If you’ve lost your old prescription or need a new one, we offer services that can help you renew it quickly and easily online.
For ideal hygiene and performance, replace
Disposable filters every 1–2 months
Mask cushions/pillows every 1–3 months
Complete mask systems every 3–6 months
Tubing every 6–12 months
Water chamber every 6 months
If you’re using the machine consistently and still feel tired, it’s worth checking the data from your device or talking to your provider. It might be a pressure setting issue, mask leak, or something else unrelated to CPAP. We’re happy to help review your setup and suggest adjustments.
What to Explore Next
Starting CPAP therapy for sleep apnea can feel intimidating at first—but you’re not alone. At CPAPmyway.com, we help thousands of people every year get comfortable with their machines and finally experience restful, uninterrupted sleep. If you’re just beginning your CPAP journey, here’s how to make the adjustment smoother and more successful.
1. Get the Right CPAP Equipment for You
Not all CPAP gear is one-size-fits-all. Having the right setup is the foundation of comfort and long-term success.
Choose the best mask style for your sleep habits: There are three main types—nasal masks, nasal pillow masks, and full-face masks. Side sleepers often prefer nasal pillows because they’re lightweight, while mouth breathers may need a full-face mask for better seal and airflow.
Look for machines with user-friendly features: Features like ramp time (which gradually increases pressure as you fall asleep), humidifiers (to reduce dryness), and auto-adjusting pressure settings can make a huge difference in how natural the experience feels.
Make sure your pressure settings are personalized: CPAP machines are usually set by your doctor or sleep specialist based on your needs. An improper setting can make it harder to breathe or stay asleep, so be sure it’s been adjusted for you.
2. Ease Into Therapy Gradually
If wearing a mask and breathing pressurized air feels odd at first, that’s totally normal. Take it step by step.
Wear the mask while awake: Spend 20–30 minutes wearing your mask in a comfortable setting—like watching TV or reading in bed. This helps desensitize your face and brain to the new sensation without the pressure of trying to fall asleep.
Use the ramp feature on your machine: The ramp starts the air pressure low and gradually increases it over a set period (usually 15–45 minutes), so you’re not hit with full pressure right away.
Start with naps or shorter sleep sessions: Try using your CPAP during an afternoon nap or the first few hours of your night. Even partial use early on builds tolerance and makes it easier to use all night later.
3. Create a Comfortable Sleep Environment
Comfort is king when adjusting to CPAP. A few simple changes can help make your setup feel more natural.
Use a humidifier to avoid dryness: Pressurized air can dry out your nasal passages and throat. Integrated or heated humidifiers add moisture to the air, making it easier to breathe and preventing irritation.
Adjust your mask for the right fit: A common mistake is tightening the mask too much. This can cause pressure marks or leaks. Instead, aim for a secure seal that feels gentle. Try adjusting while lying down—your face shape changes slightly when you’re on your back.
Consider mask liners or pads: These soft fabric barriers go between your mask and skin to reduce irritation, improve comfort, and even help reduce leaks for some users.
4. Be Patient and Consistent
Your body needs time to adapt to this new routine—especially your brain and sleep patterns.
It may take a few weeks to fully adjust: Many users feel frustrated in the first week or two. Don’t let that discourage you. The benefits grow the longer you stick with it.
Use your CPAP every night—even for part of the night: If you can’t manage the whole night at first, aim to use it as long as you can. The consistency helps you build the habit.
Track your progress using your machine’s app or display: Most machines track usage data, like hours used and mask seal quality. Monitoring your progress helps identify areas to improve and gives you a sense of accomplishment.
5. Ask for Support When You Need It
You don’t have to figure it all out on your own. Reaching out early can save you weeks of trial and error.
If your mask is leaking or uncomfortable: Try different mask types or sizes. Our team can help you troubleshoot and suggest more comfortable options based on your face shape and sleep style.
If you feel like you’re not getting enough air: Your pressure settings might need adjustment. It’s important not to change these on your own unless advised—reach out to your doctor or our support team.
If you’re experiencing dry mouth, stuffy nose, or trouble falling asleep: There are accessories and troubleshooting solutions for all of these—like chin straps, nasal sprays, or heated tubing. The key is communicating your discomforts early.
6. Celebrate Your Wins
Every night you use your CPAP is a step toward better health. Don’t forget to recognize the progress you’re making.
You’ll likely notice more energy and mental clarity: Quality sleep improves memory, mood, and daily focus.
Better sleep helps regulate blood pressure and heart health: CPAP therapy reduces the risks associated with untreated sleep apnea, including cardiovascular issues and fatigue-related accidents.
Small wins add up—track how you’re feeling over time: Keep a journal or log. Many people start noticing changes in their energy, headaches, or snoring in just a few weeks.
Final Thoughts: CPAP Therapy Gets Easier—And We’re Here to Help
Adjusting to CPAP therapy isn’t always easy at first, but it’s absolutely worth it. With the right equipment, mindset, and support, you’ll be on your way to deeper sleep and better health.
At CPAPmyway.com, we’re here to guide you every step of the way—from choosing your first machine to fine-tuning your setup for ultimate comfort.